To get the best results out of the Zoom iOS app and your Apogee device, here are some steps and tweaks you can make:
For this example, we will use the Apogee HypeMiC connected to an iPhone, iPad or iPad Pro USB-C.
- Open Zoom & select the gear icon, then "Meetings Settings", then scroll down and turn on "Use Original Sound".
- HypeMiC must be connected before joining a meeting. iOS will not detect it if you connect while already in a meeting.
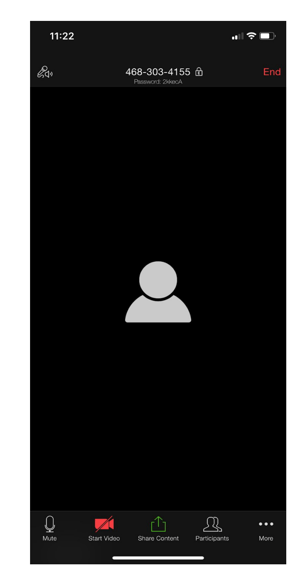
- Once you've started or joined a meeting, HypeMic's status switches to "connected and working with recording software" as indicated by a single green LED. You may now adjust the Input Gain, Compression, and Blend settings.
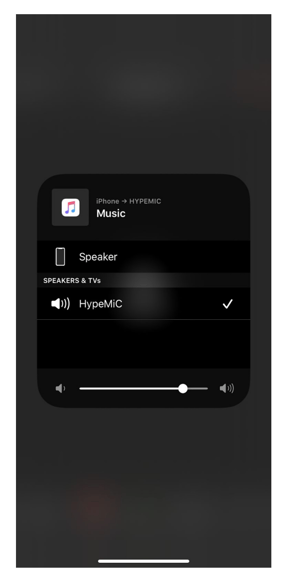
- On iPhone, tap the Mic-Speaker icon in the upper left corner to open the "AirPlay" list, then tap HypeMic.
- On iPad Pro USB-C, there are no audio settings available - simply connect HypeMic before opening Zoom, start a meeting, and HypeMic is ready for use.
- Connect Headphones to the jack on the bottom of HypeMiC for monitoring. Use the volume buttons on the side of your iPad or iPhone to adjust the output level.
- If performing, such as playing a song or making a speech, it is essential that all other participants in the meeting are muted or stay muted. Otherwise, if they make noise the Zoom app will shift sound to them & disrupt the performance.
- This means the performer won't hear the audience's reactions during the performance. One remedy is to have breaks such as between songs where the audience can unmute and express their appreciation.
TIP: Have a separate person act as Meeting Host, and manage muting/un-muting and assist in sound checks.